Laminate Installation – the basics
Please, as always read and follow the directions provided with what product you have purchased. Aside from that, here are a few more things to consider. Projects vary in difficulty and required steps to complete your project but the result will be totally worth it!
Always consider where you will be putting your laminate flooring.
Laminate floors can go in any room over a clean, dry subfloor. The plastic-coated planks are slippery when wet, so laminate isn’t a good choice for bathrooms and laundry rooms. You can install a floating floor system over existing floors that are flat and in good condition.
Let’s get started.
The laminate floor should be acclimated in the area it is to be installed in for two to three days. This is done to insure that the product will match the temperature and relative humidity of the area. It is best to keep the year round relative humidity between 45% – 60% and the temperature should not fall below 50° F.
- Avoid fitting the floor flush to any wall, pipe or any vertical surface, which could affect the expansion and contraction of your floor at any time.
- The minimum expunction space from every wall, adjoining floor or any vertical surface is ¼”. Double check your manufactures instructions as this can change from product to product some are 3/8” to ½”.
- Temperature will not affect these floors as much as humidity will. The greater the level of humidity in your area is the greater the expansion of your product will be.
- If your product does not have an attached pad or cork backing, you will need to install this before you can put your flooring down. Unroll your padding and tape the seems if they are not self-adhesive. You can use packaging tape or duct tape to do this.
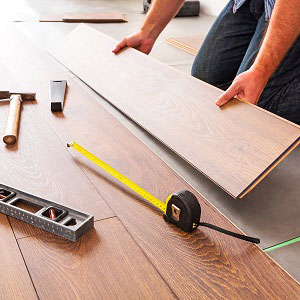
- Refer to your products instructions and begin installation. Make sure to keep the recommend gap for expansion away from your walls.
- Make sure to check your door ways and remove any excess door trim material if needed so your flooring material will have plenty of clearance to go under your door jams and not impede your doors operation.

